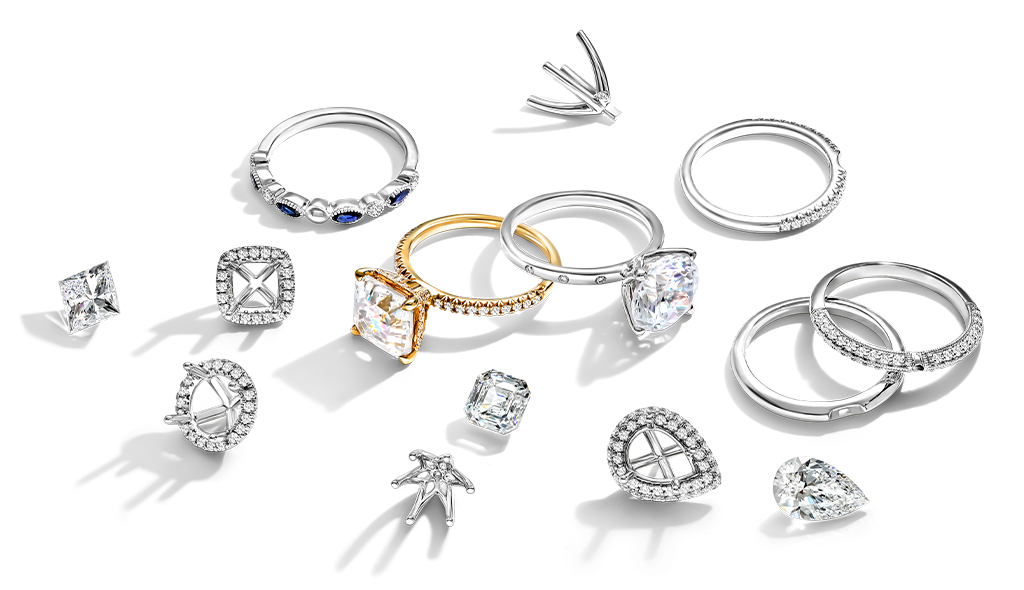
Looking to buy an engagement ring but not sure what all the different bits and bobs of a ring are? Let us walk you through the anatomy of a ring so you can find the one that fits you best!
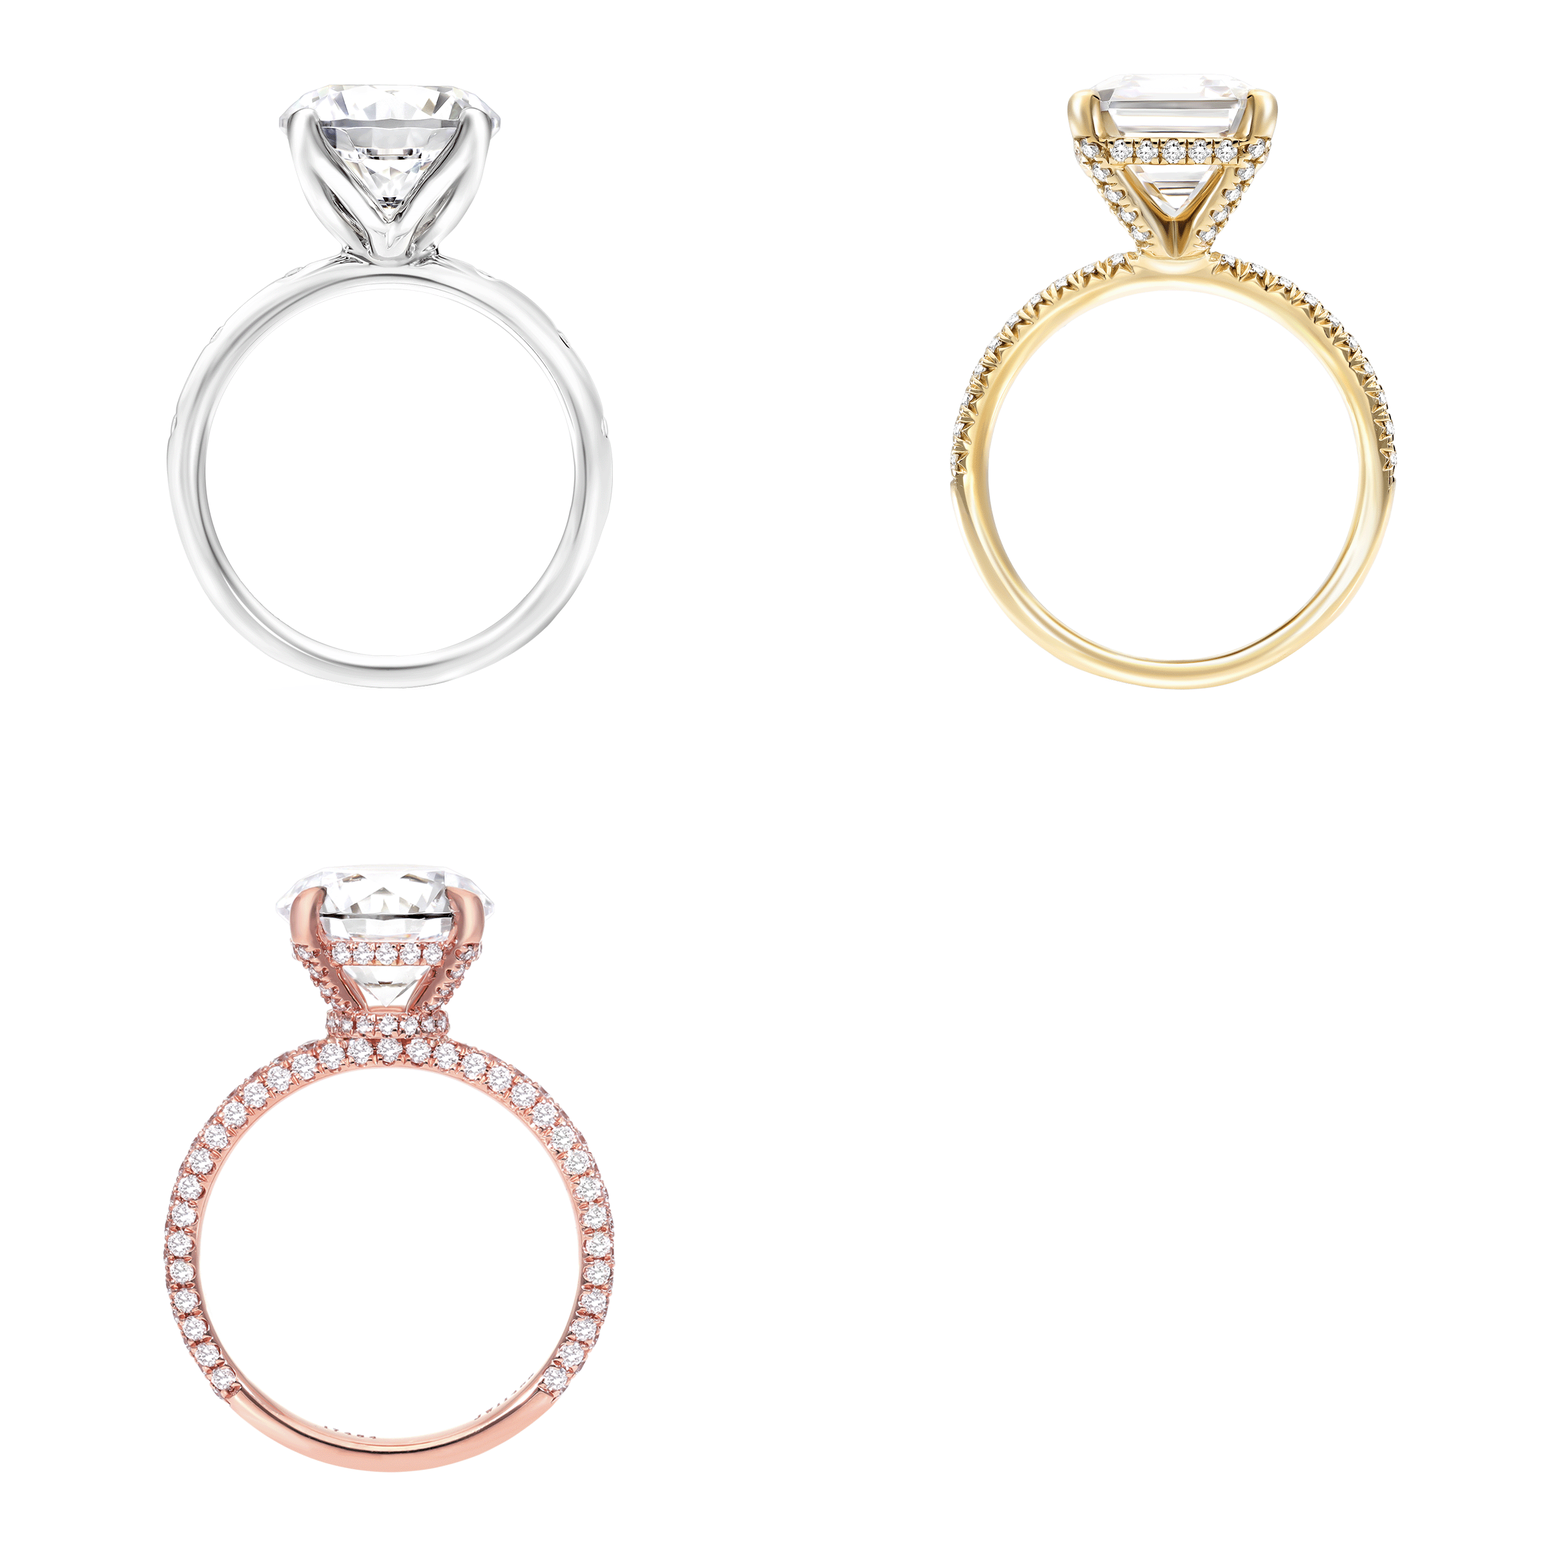
The beginning of your engagement ring shopping doesn’t need to feel daunting. Maybe you’ve already got a clear idea of what you want, and you’re just unsure of all the ring terminology. Or, you have no idea which ring style is best for you or your partner and you need some help from the experts. Whatever side of the equation you’re standing on, we’re here to guide you.
There are many different ring settings to choose from, and each setting has multiple design features. The good news is that once you know what these settings are, the ring buying process will be that much easier and, dare we say, exciting. Knowing the difference between these parts can help you and your partner understand exactly what you want, not to mention, that if you’re going to custom design the ring yourself, you’ll need a little lesson in ring anatomy 101.
Worried you might still be confused? We’ve got plenty of fun infographics to help pinpoint each area of a ring’s anatomy. Let’s get started!
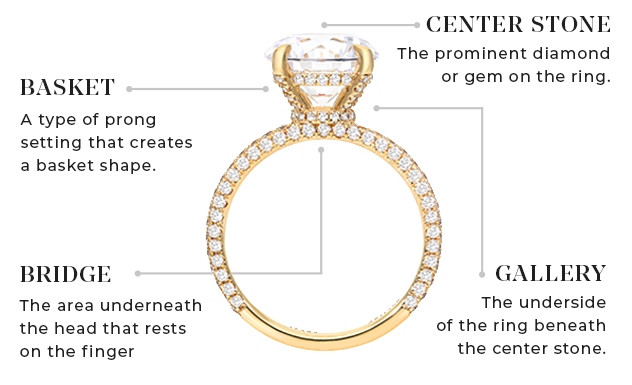
The center stone of the ring refers to the diamond or gemstone that sits at the center of the ring setting. The center stone is usually the largest stone on the ring and traditionally features a round-cut diamond or gemstone. However, each engagement ring can be fitted with the center stone of your choice, not excluding fancy-shaped diamonds or gemstones like oval, pear, emerald, princess, and marquise cuts.
A basket is a prong setting that has traditional prongs extending up from the base of the metal band and a horizontal band that connects the prongs to provide enough tension to hold the center stone in place. This creates a basket shape for the diamond or gemstone to sit in.
The bridge of a ring refers to the area underneath the head of the ring that sits on the wearer’s finger. This area typically needs to be comfortable with no sharp edges. It’s hardly seen once the ring is on, however, it can feature a small diamond or gemstone accent, or patterned engraving.
A functional and decorative feature, the gallery of a ring is located between the basket and bridge on the ring’s head. The traditional engagement rings often featured open galleries, allowing the bottom part of the center stone to be visible. However, on 3 stone rings the gallery might also include these added accents.
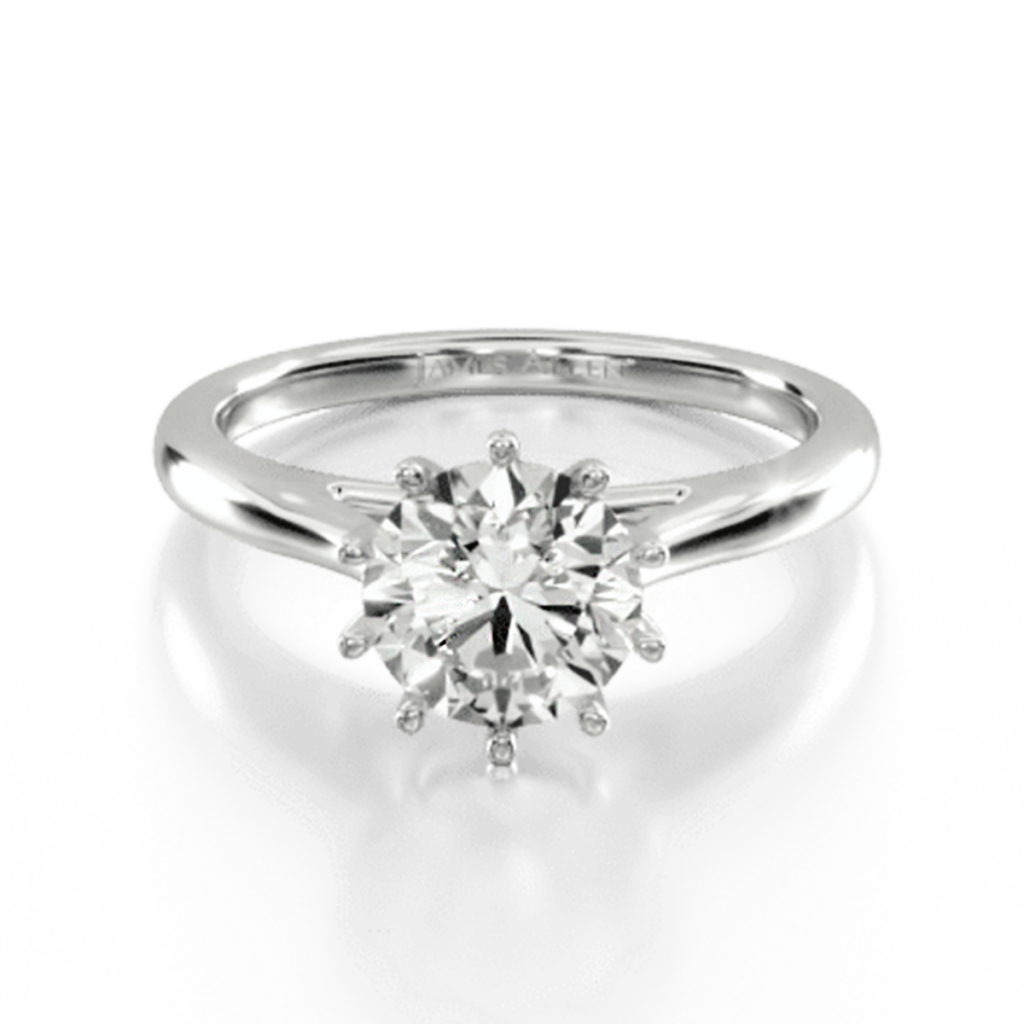
The setting refers to the entire ring and the way added stones have been set on the ring. You’ll find there are various setting types to suit your unique style. But not all settings are created equal. Some settings are simple while others are more complex. Whichever setting you choose will determine how the final look of your ring, but more importantly, your chosen setting will affect the cost and maintenance of it, too. Let’s dive into the different types of settings.
Simple and timeless is how we’d describe a solitaire setting. It’s effortless in design, as a plain or two-toned metal band with a single center stone. Solitaire engagement rings can feature a variety of different prong settings and the band itself isn’t limited to a single design either.
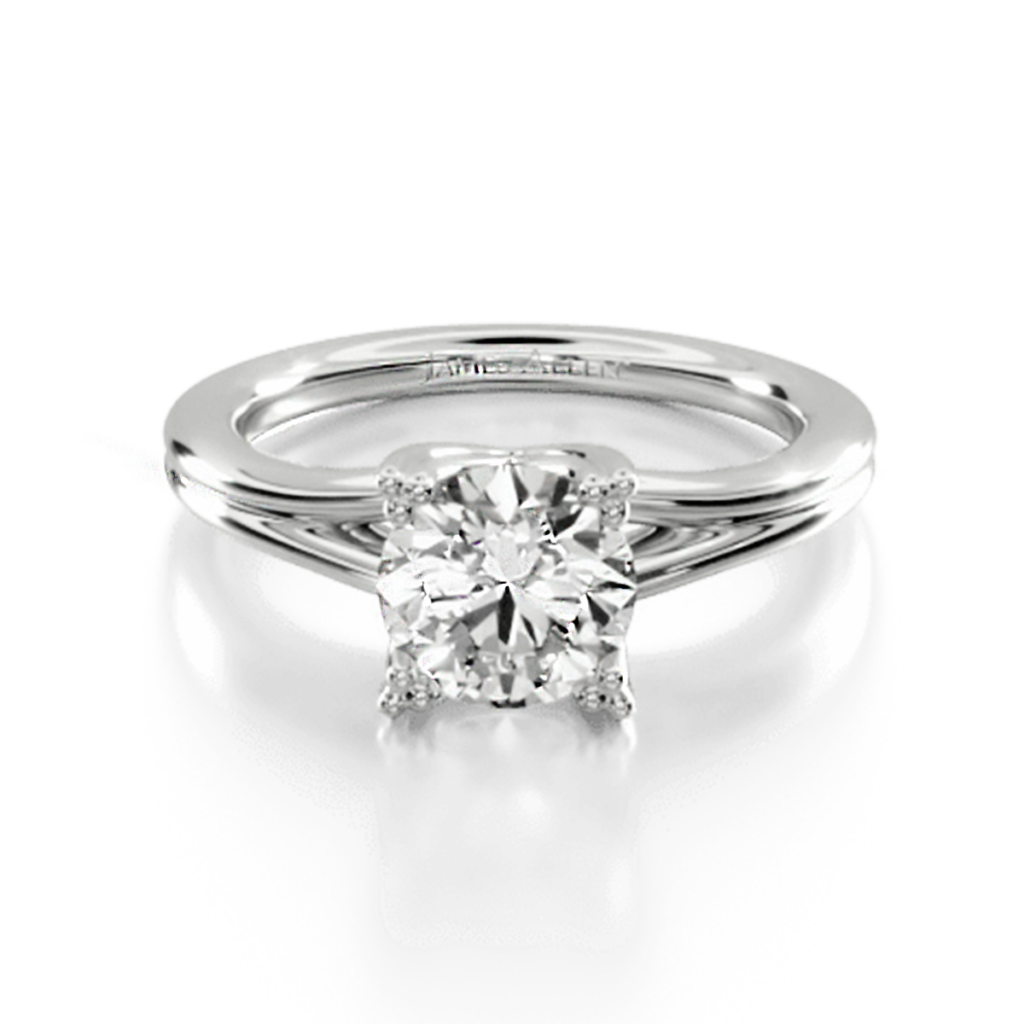
The French word pavé, meaning to pave stones, might help you to remember this ring setting. A pavé setting refers to small stones featured along the line of the band, like cobblestones. It’s a delicate and often favored setting because it offers the ring-wearer some extra sparkle to complement the center stone.
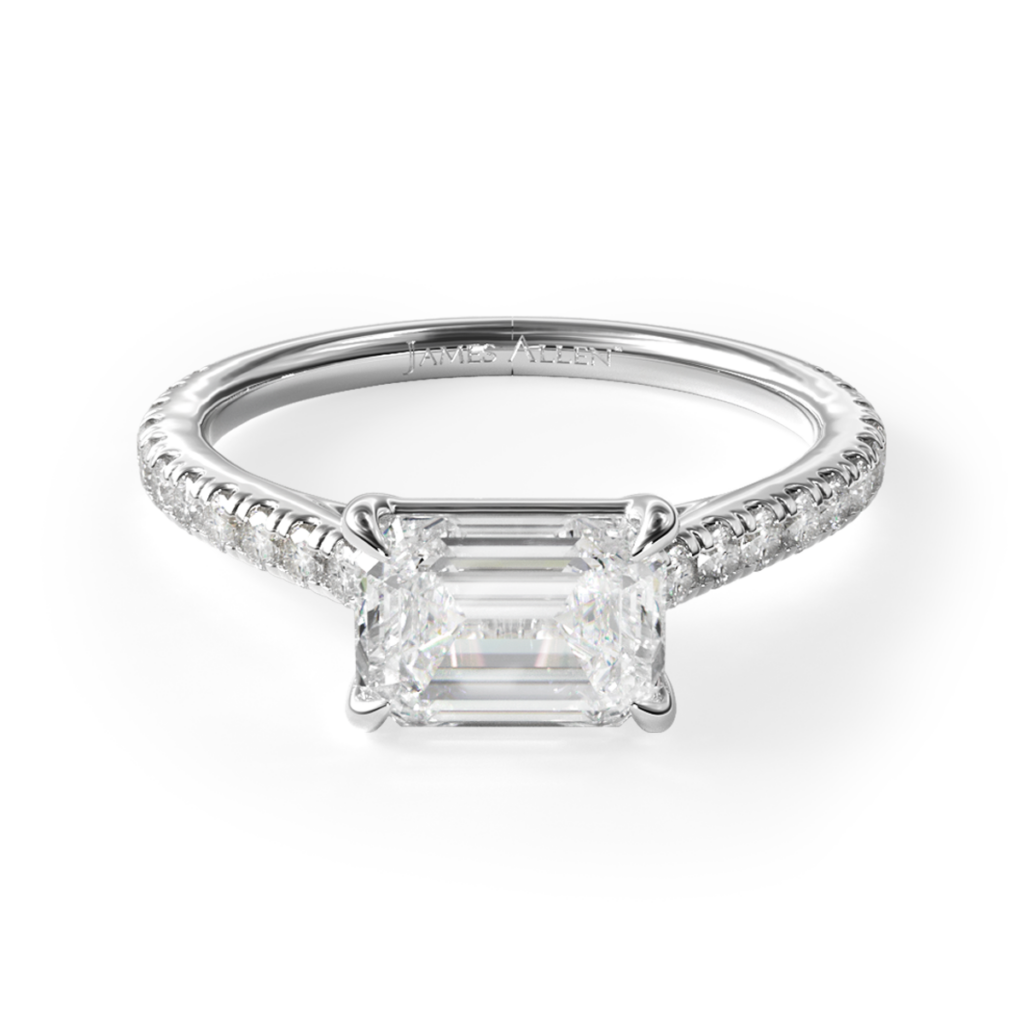
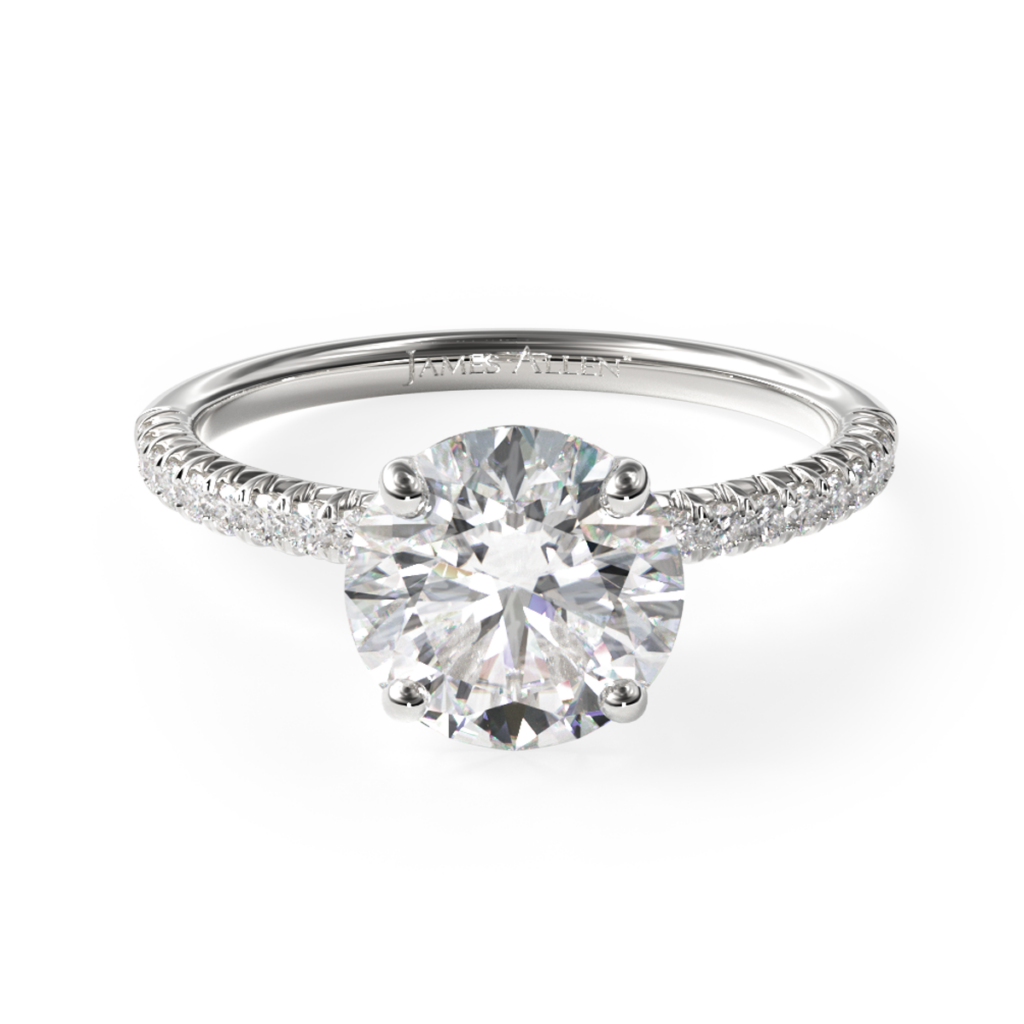
Channel set settings are side diamonds embedded into a grooved channel of the band. Think of it as if the rows of diamonds are cemented between two walls of metal. Light can still reflect off the diamonds but they’re as exposed as side diamonds on pavé settings.
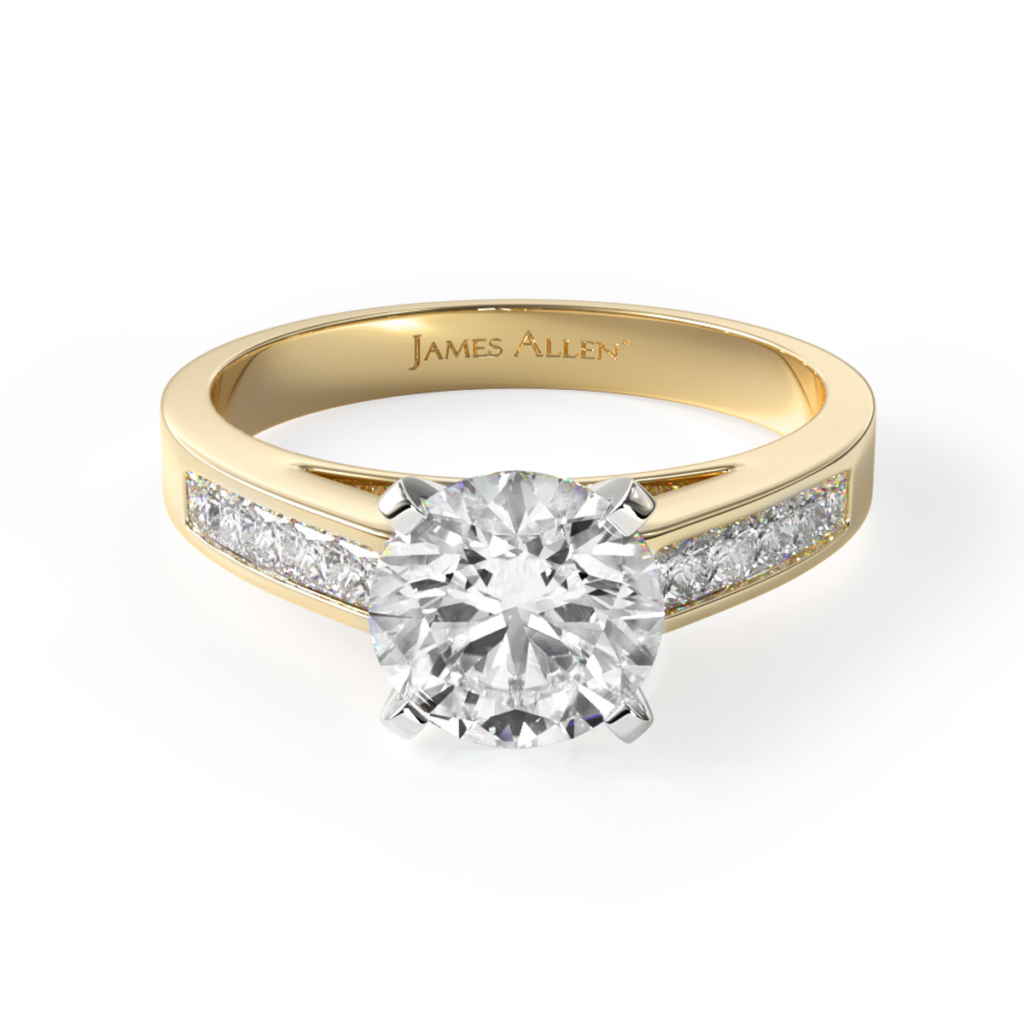
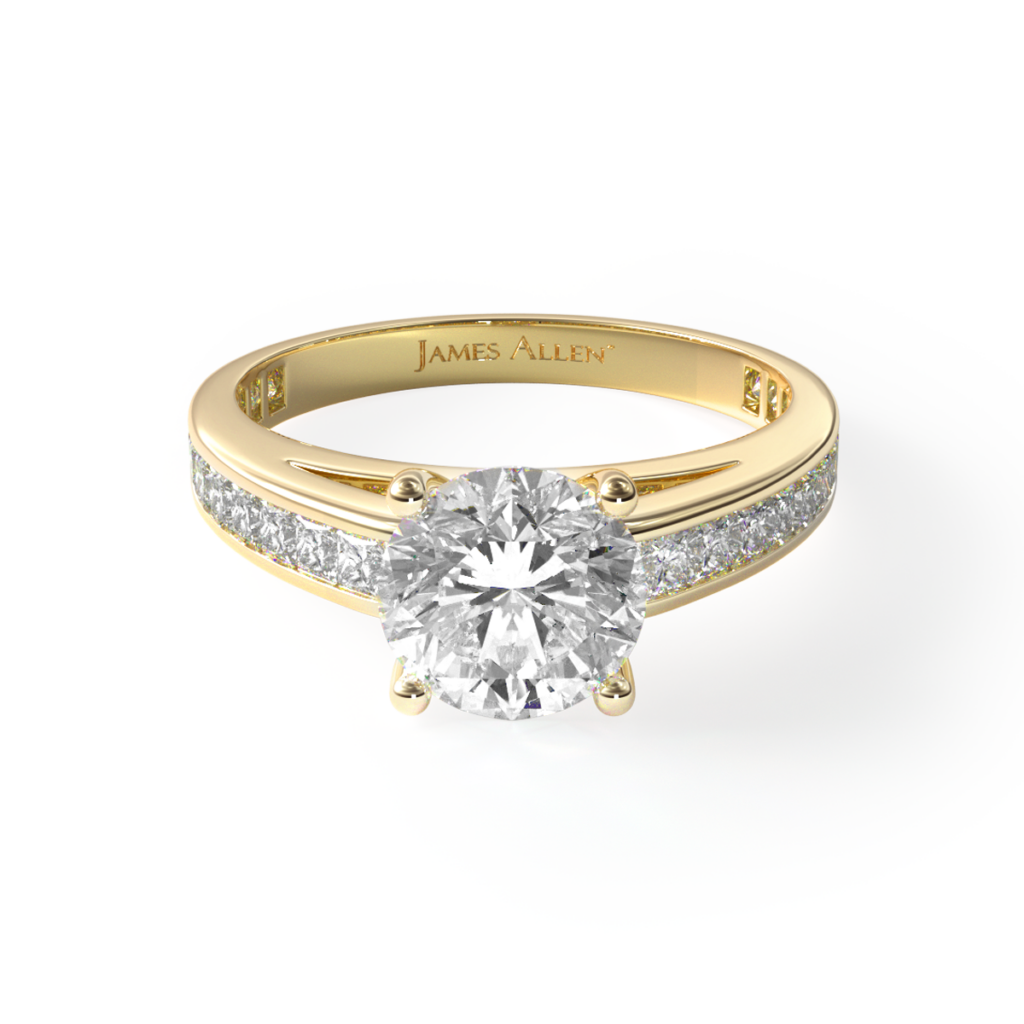
A three stone setting usually features a center stone with two diamonds or gemstones sitting flush on either side of it. What’s fun about this setting is that the two additional stones don’t necessarily need to be the same diamond shape as the center stone.
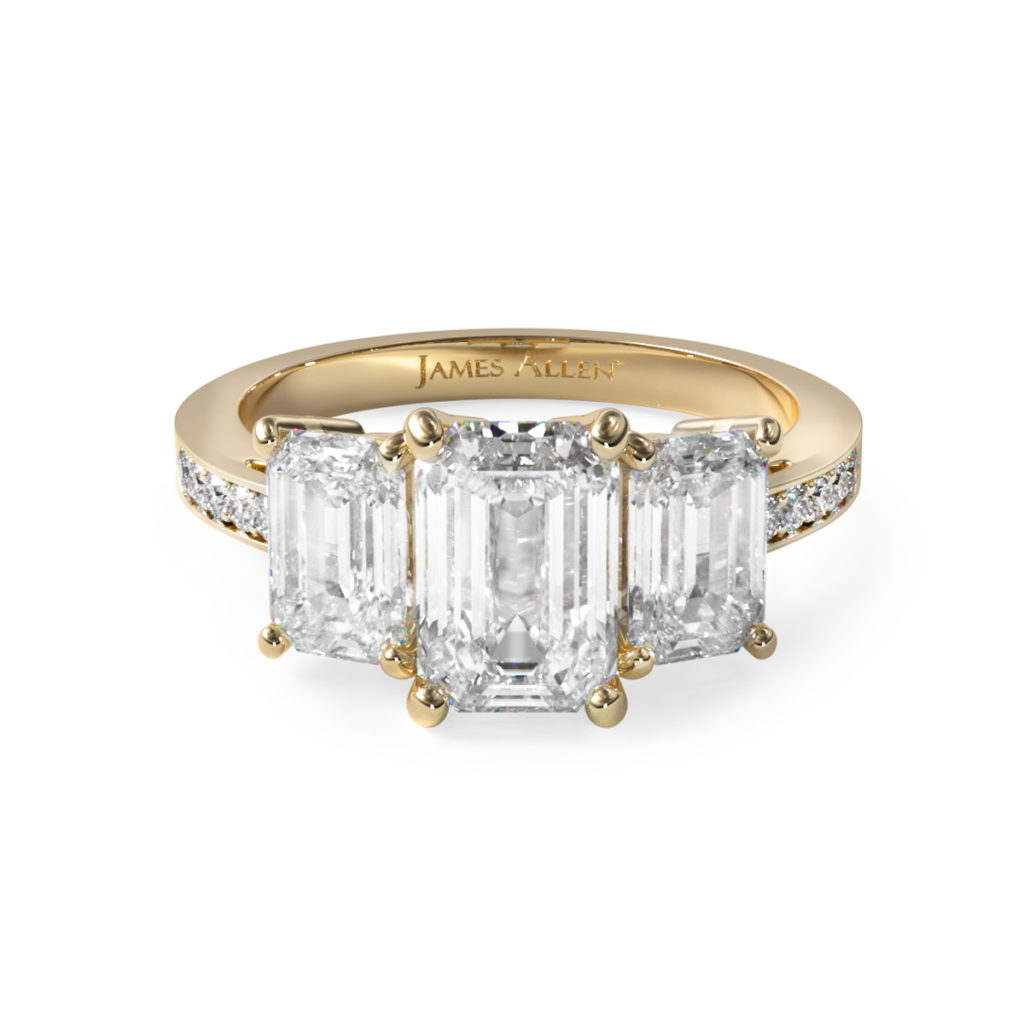
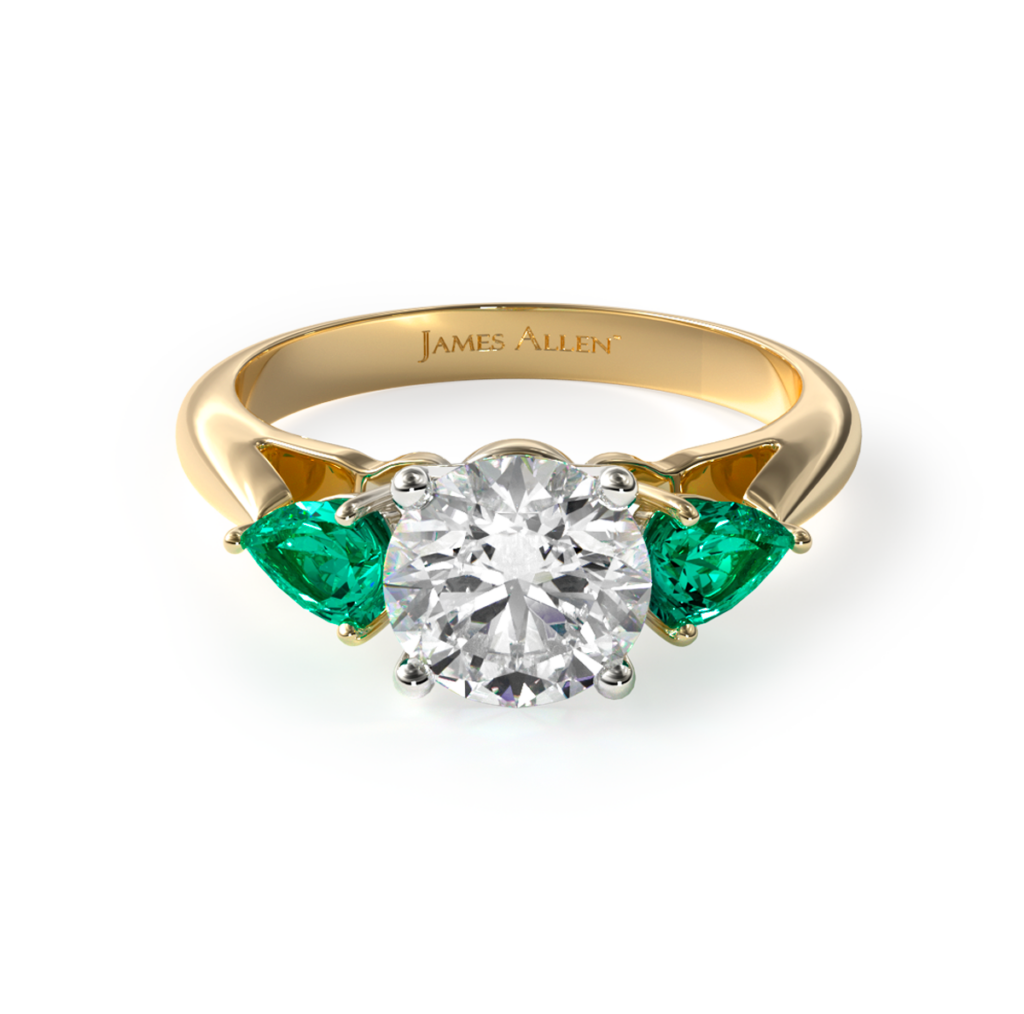
More sparkle for your center stone is how we like to think of side stone settings. A side-stone setting can include any number of additional stones along with the band of the ring. These stones can be cut and placed in any number of beautiful ways and truly bring out the brilliance of the center stone.
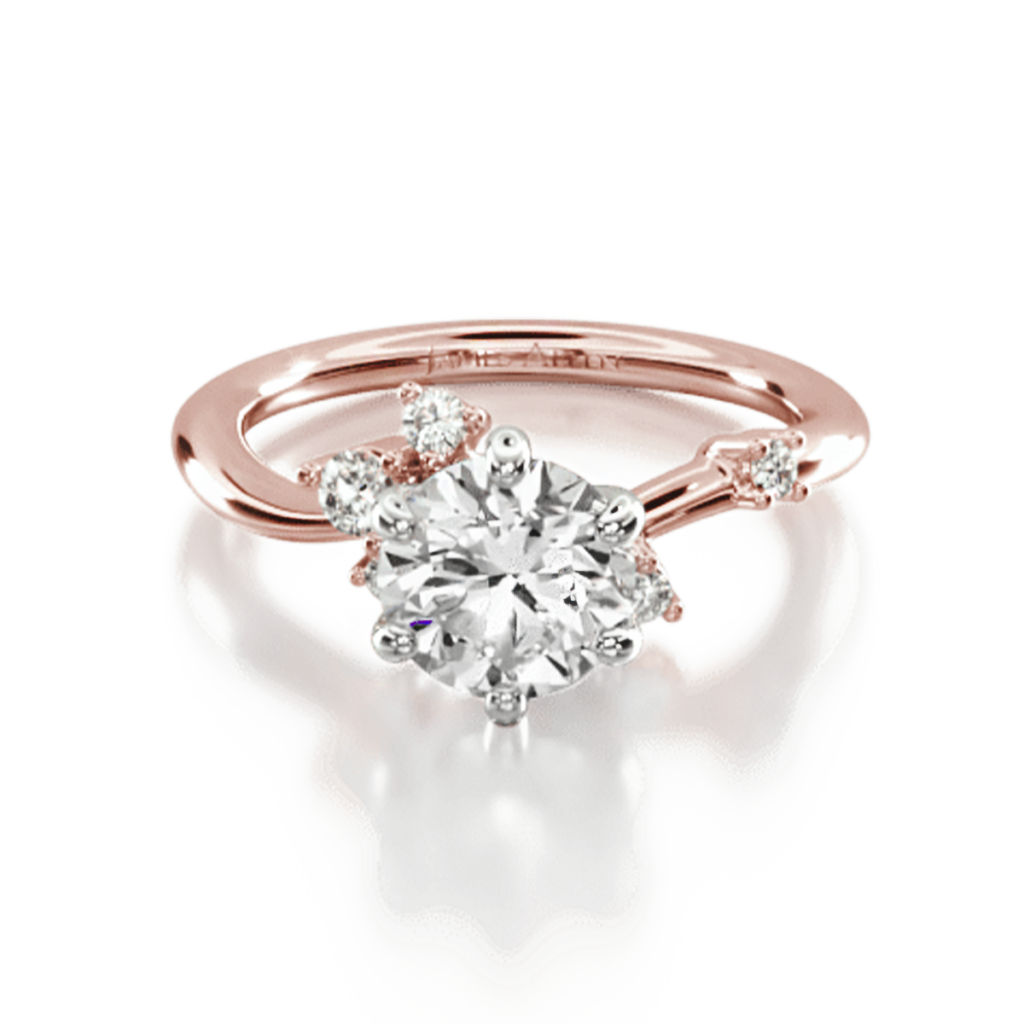
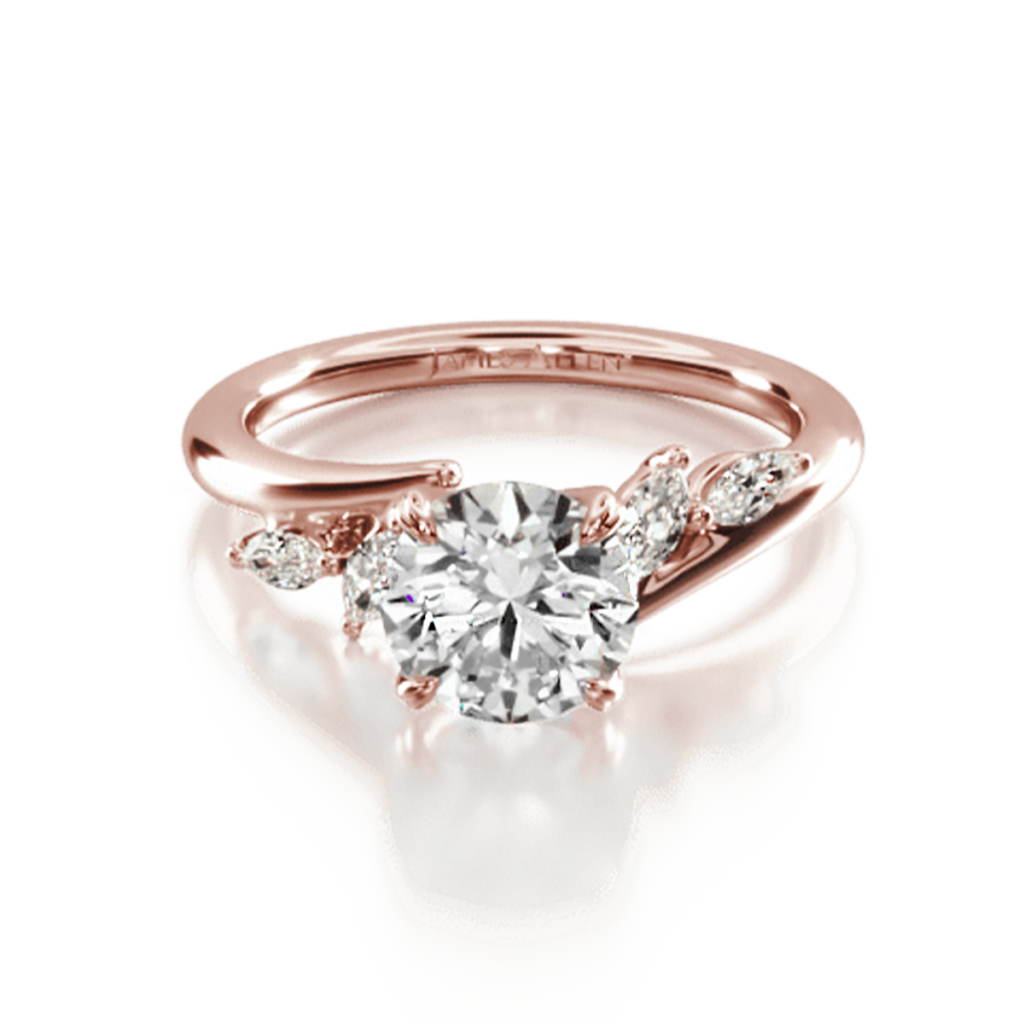
Looking for a setting that can be admired from a mile away? That’d be a tension setting. This setting uses compressions to hold the center diamond in place, giving the appearance that the diamond is suspended in midair. The setting is usually made from a thick metal band and is sure to stand out in a crowd.
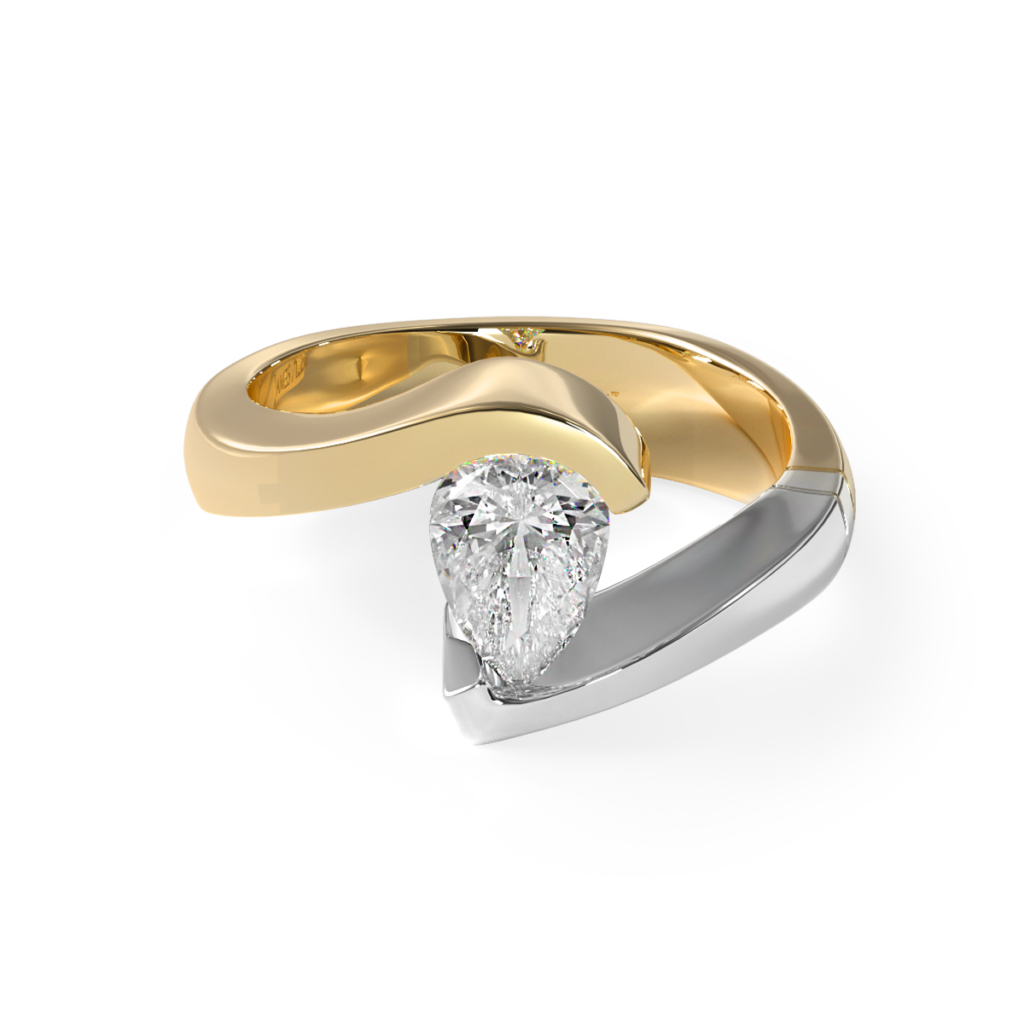
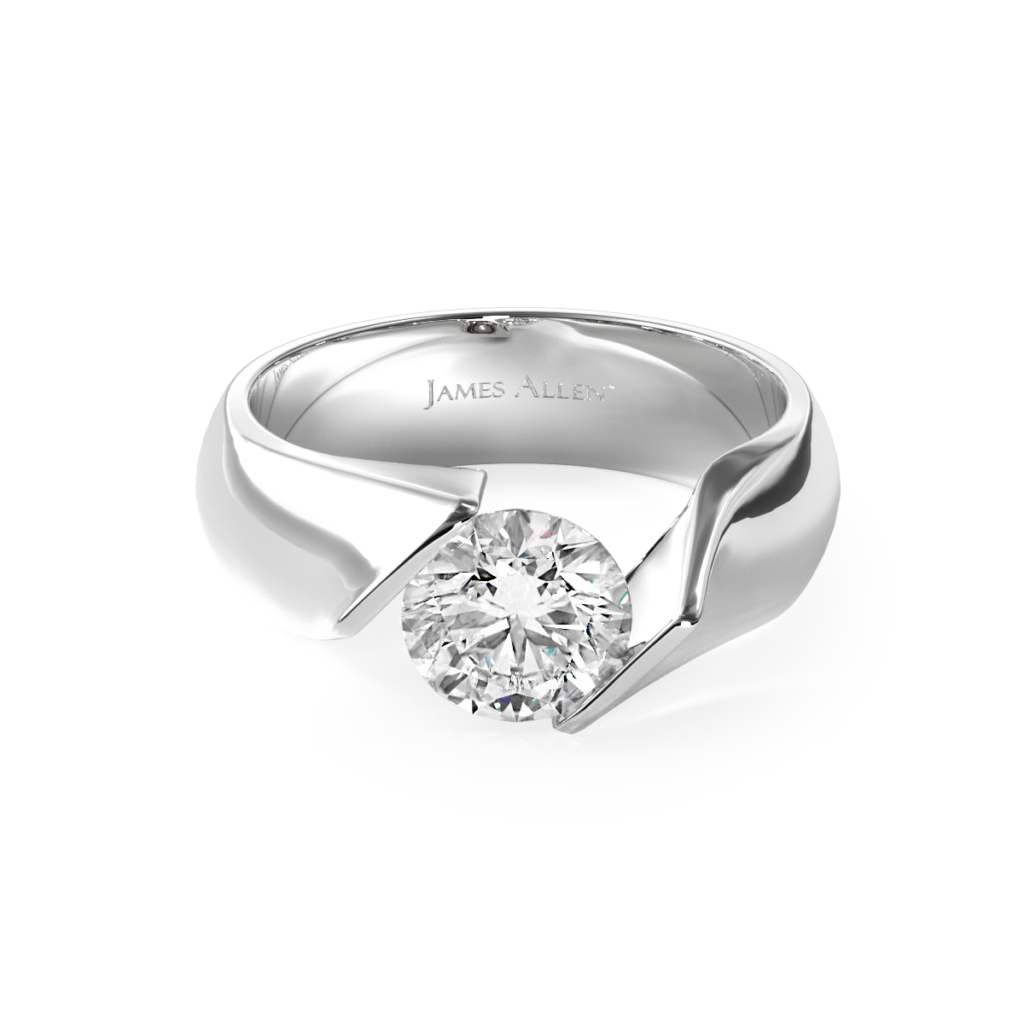
The halo setting is one that typically encircles the center stone with round pavé or micro-pavé diamonds. The small accent stones can make the center stone appear larger. A halo setting can take on the same or a different shape than the center stone.
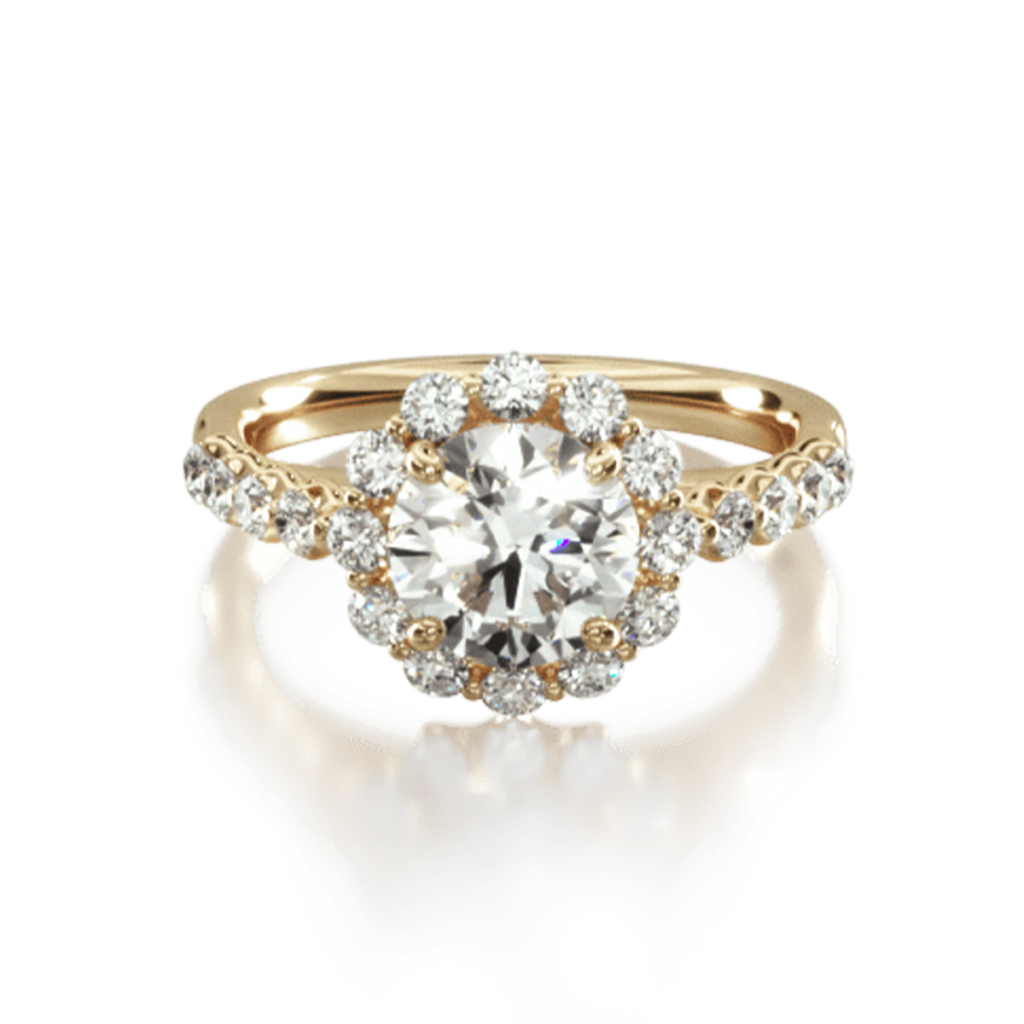
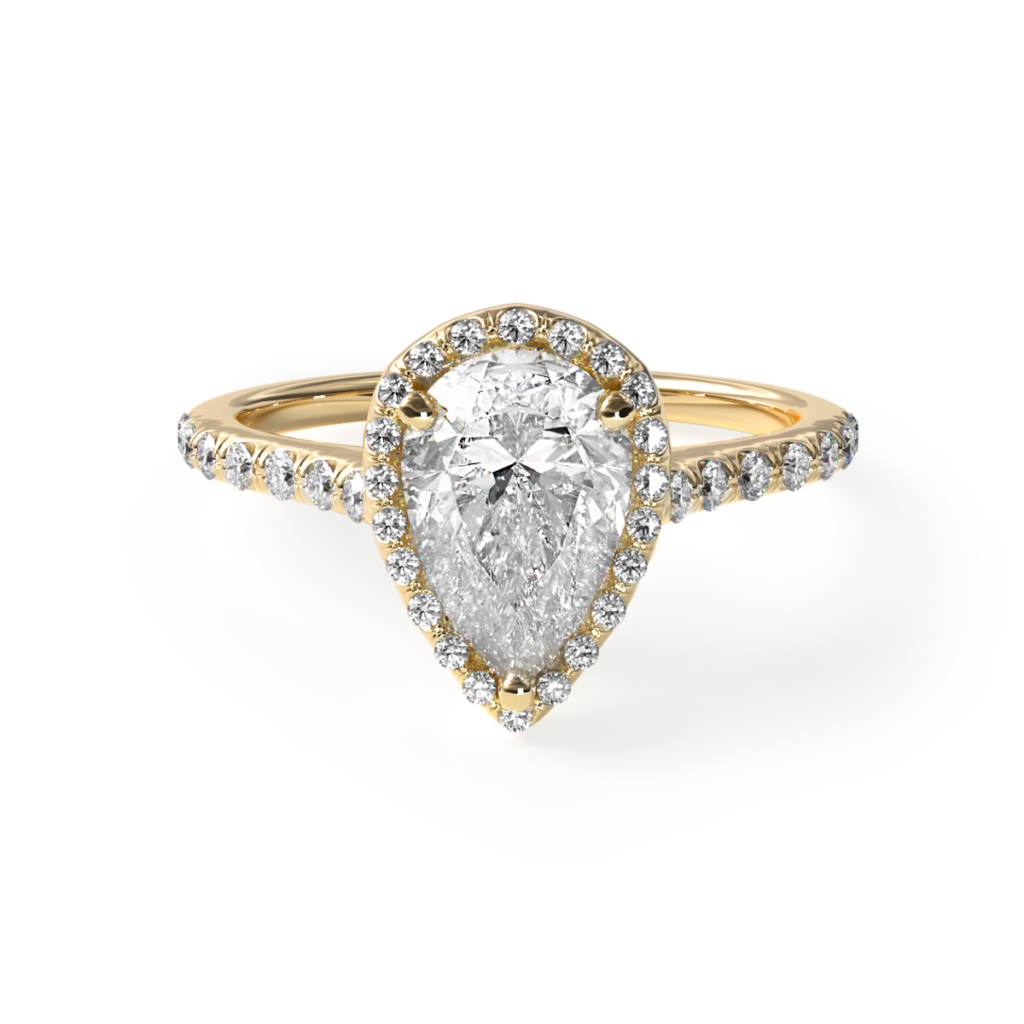
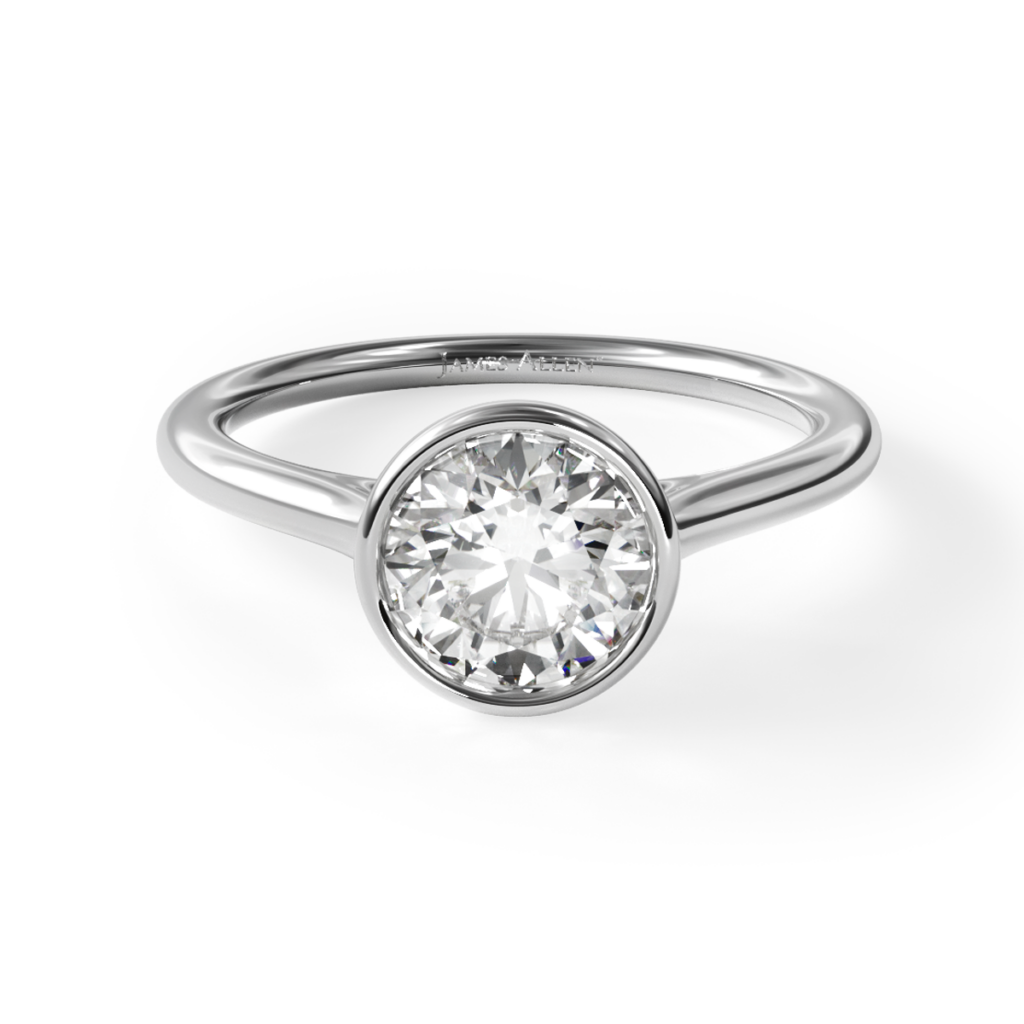
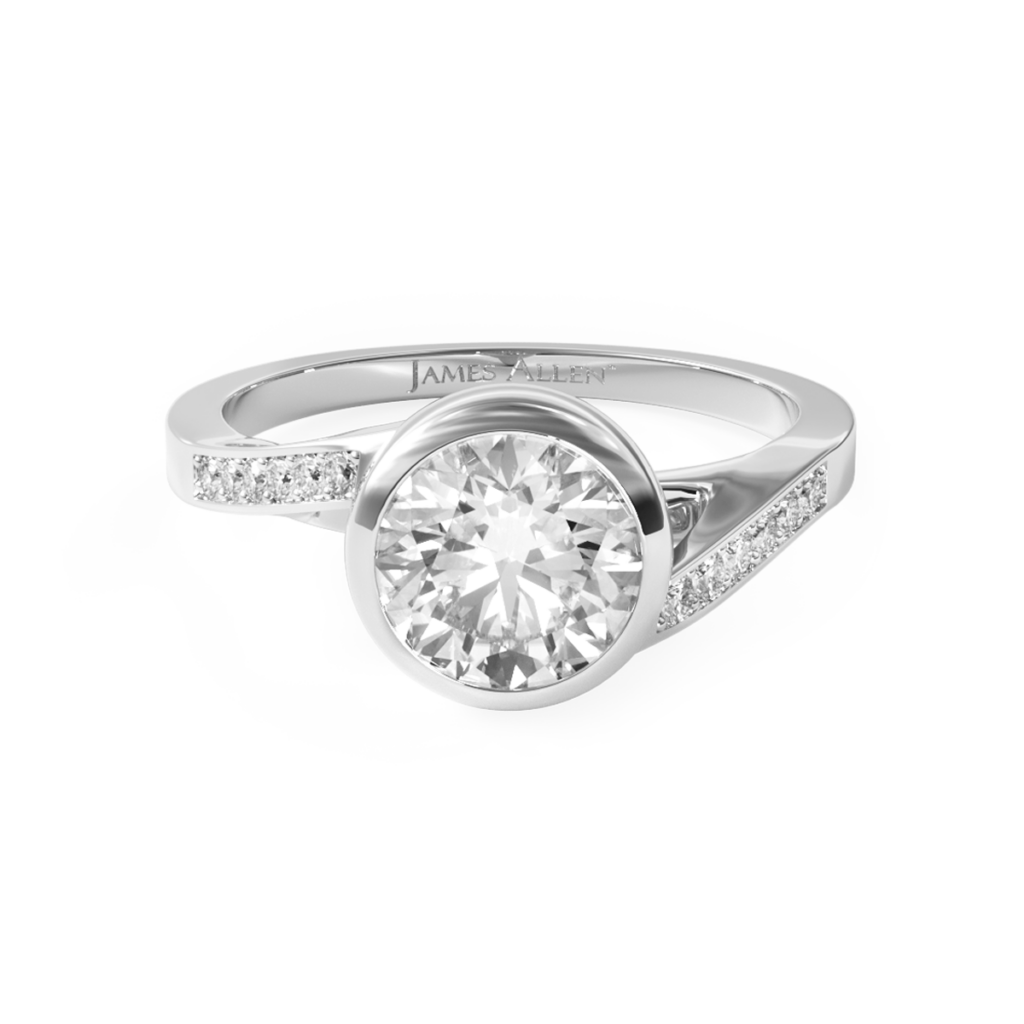
A bezel setting uses no prongs and instead is designed with a rim of metal holding the center stone. The surrounding metal only leaves the upper portion of the diamond or gemstone visible. This setting is perfectly designed to keep the center stone safe and secure.
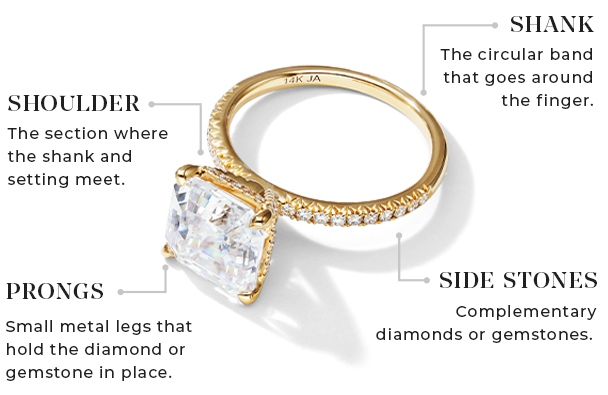
The prongs on a ring’s head are small metal projections or claws, either rounded, pointed, or v-shaped. Prongs extend up the ring’s basket and are used to secure the center stone in place and hold it there. There are various types of prong settings, the most popular for engagement rings being four or six prongs – enough to leave the diamond visible and able to reflect light and sparkle.
The type you choose impacts the appearance and security of the ring. For example, comparing claw prongs vs round prongs, the first shows more stone but requires more maintenance, while the second is classic and low-maintenance.
Side or accent stones are the stones that flank the sides of the center stone and are attached to the shoulders or the shank of the setting. Accent or side stone can encircle the entire ring in an eternity style or just decorate a small position of the ring. These accents aren’t limited to diamonds but can be tiny gems, too, of any fancy shape.
Naturally, the shoulder helps to keep the head of the ring up. It’s the area where the shank and the ring setting meet and can be adorned with small diamond or gem accents.
Naturally, the shoulder helps to keep the head of the ring up. It’s the area where the shank and the ring setting meet and can be adorned with small diamond or gem accents.
Shank is more commonly known as the circular metal band that goes around the entire finger. A ring’s shank can take on many unique designs, from, twisted, curved, flat, and even split shank. As with most of a ring’s anatomy, the shank can also feature small diamond or gemstone accents. When choosing a ring it’s important the shank is comfortable and amplifies the appearance of the ring itself.
At JamesAllen.com, we give you the ultimate custom-design experience in our very own ring studio. Watch your engagement ring change to your specifications in real-time. Now that you’ve got a clearer idea about ring anatomy, the only limit is your imagination.

We hope this lesson on ring anatomy helps you on your journey to finding the perfect engagement ring. And if you’re planning to design it yourself, take everything we’ve just taught you and give our ring studio a try for the ultimate ring custom designing experience.
Still got questions? Feel free to visit us at James Allen and chat with one of our diamond and jewelry experts, available to you 24/7.
Need some engagement ring inspiration? Check out these helpful posts: